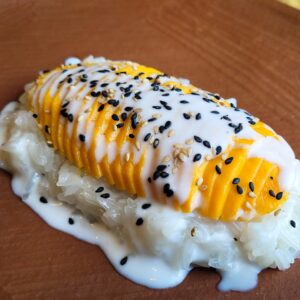
Sticky Rice with Mango

Sticky rice with mango is one of the most well-known Thai snacks/sweets…and for good reason…it is absolutely delicious. When mangoes are in season and super sweet, you really can’t go wrong eating them this way. The sweet (and slightly salty) combination of mango, coconut, and sticky rice is pretty much perfect. Luckily, it is also very easy to make at home as long as you have the right ingredients.
Ingredients
Make sure you use ripe, sweet mangoes when making this dish. I like to use ataulfo mangoes as they are nice and sweet but you could use whatever variety is available to you. To check if a mango is ripe, give it a gentle squeeze. It should give in to gentle pressure. If a mango is very hard, it will typically not be very sweet. This dish also works very well with ripe durian instead of mango, if you can find it.
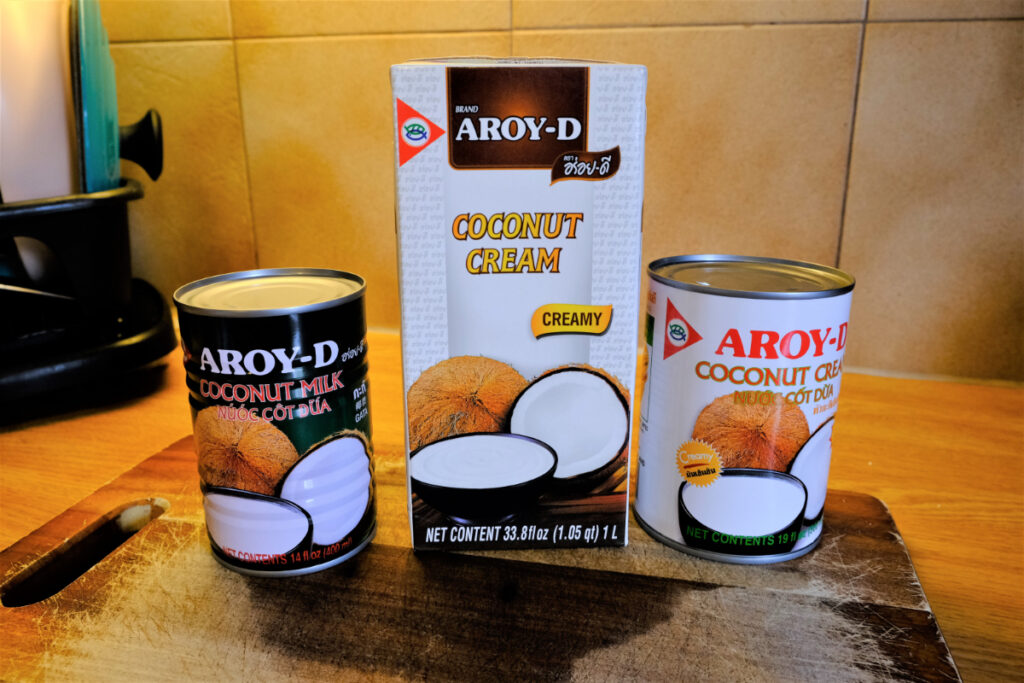
I like to use coconut cream instead of coconut milk to make mango sticky rice as it is thicker and richer. That being said, you can most definitely make this dish with regular coconut milk. I like to use Thai brands of coconut cream/milk such as Aroy-D and Chaokoh. Do not confuse “coconut cream” with “cream of coconut”. Cream of coconut is a completely different product that is already sweetened and will not work well in this recipe.
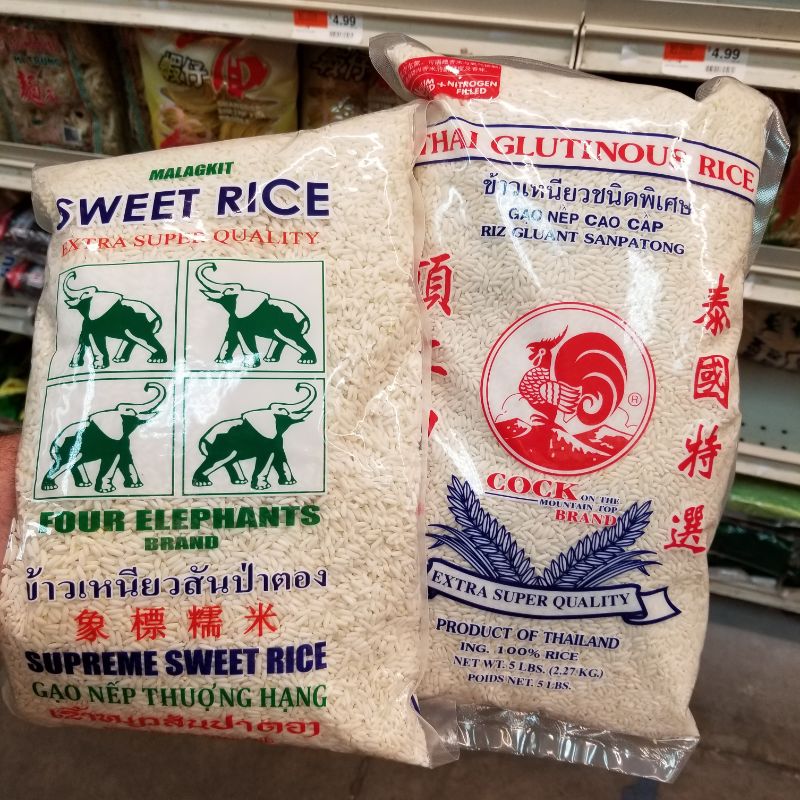
To make mango sticky rice you need to use the right rice. Unfortunately it can be often difficult to find and may be packaged using a few different names. I typically see it labeled as glutinous rice or sweet rice. This is not to be confused with Japanese glutinous or sweet rice, which is used for mochi. Your best bet is to buy sweet or glutinous rice that is grown in Thailand. If you attempt this method with the wrong rice, you will most likely be disappointed.
Steaming the rice
Steaming of the sticky rice is probably the most “difficult” part of making this dessert so I will provide some notes here:
Sticky rice needs to be washed and soaked before cooking. Washing helps to remove excess starch on the outside of the grains of rice and provides the correct texture for this dish. To wash the rice, place the rice into a mixing bowl and cover it with an inch or two of cool water. Use your fingertips to vigorously agitate the rice for 10 seconds or so. You will notice the water begin to get cloudy. Tip the bowl over into a sink so that most of the cloudy water is drained away but the rice remains in the bowl. Fill the bowl up with water again and repeat this process until the water is relatively clear, usually about 3 or 4 times. After washing, cover the rice with a few inches of cool water and allow the rice to sit at room temperature to soak for anywhere between 4 and 24 hours. Soaking is essential for hydrating the grains of rice and making sure they cook properly. Don’t soak your rice for more than 24 hours as it can start to ferment and go sour.
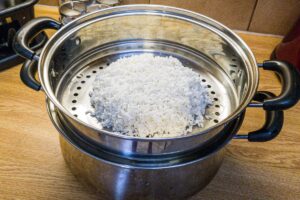
In many parts of Southeast Asia, sticky rice is traditionally cooked in a special bamboo basket. The rice is washed, soaked and cooked over a pot of boiling water. Most people I know don’t have space in their kitchens for a dedicated sticky rice steamer so I will show you how to steam the rice in a conventional stack-able steamer. You can also get creative with how you steam the rice. A colander set on top of a pot of boiling would also do the trick. Whatever method you use to steam the rice, make sure the rice does not come in direct contact with the boiling water. Also make sure to drain the sticky rice very well before placing in your steamer. Any excess water left in the rice will settle to the bottom of the rice and cause the bottom layer of rice to get gummy and overcooked.
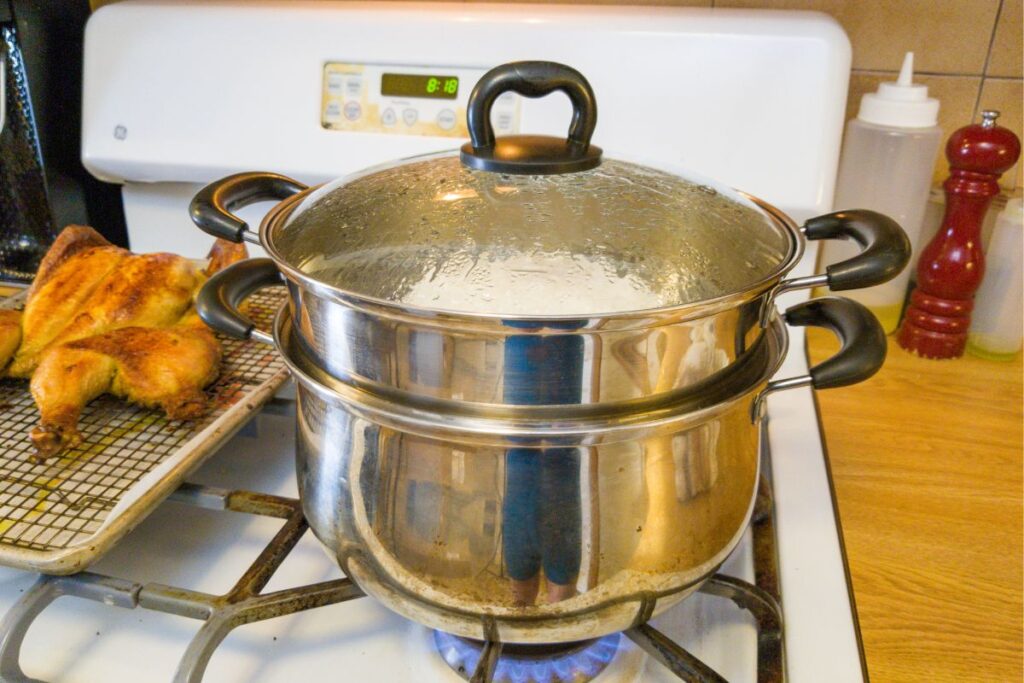
When you are ready to cook the rice, Fill the bottom of your steamer with about 1 or 2 inches of water. Bring to a boil. Make sure you have enough water to avoid evaporation, but not so much that the boiling water is splashing up onto the rice. Drain the rice very well and place onto a dry steamer tray. Place the tray on the steamer and cover with a lid. Allow the rice to cook for about 15-20 minutes.The steamer should be producing a good bit of steam while cooking without being overly aggressive. After 15 minutes, carefully open the lid and use a fork to taste a bit of rice from the very center. If it is still crunchy or too toothsome, allow the rice to cook longer, checking every 5 minutes until finished.
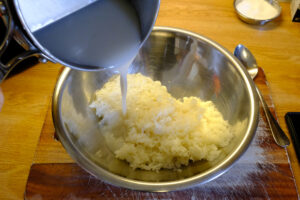
The sticky rice is now ready to be mixed with the coconut sauce. Do not allow the sauce or the sticky rice to cool before mixing them together. The rice needs to be hot in order to absorb all the sauce.
Sticky Rice with Mango
Ingredients
Sweet Coconut Sticky Rice
- 1.5 cups uncooked Thai glutinous or sweet rice (make sure you have the right rice, see above)
- 1 cup coconut cream or coconut milk (do not use cream of coconut)
- 3/4 cup sugar
- 1 tsp kosher salt (use 1/2 tsp if using table salt)
Coconut Sauce
- 1 tsp rice flour (can substitute corn starch)
- 1 Tbsp water
- 1/2 cup coconut cream or coconut milk (do not use cream of coconut)
- 1/2 tsp kosher salt (use 1/4 tsp if using table salt)
- 2 tsp sugar
- 1 8" piece of pandan leaf, tied in a knot (optional)
To Serve
- 2 ripe mangoes
- a few teaspoons sesame seeds (white, black or a combination)
Instructions
Sweet Coconut Sticky Rice
- Wash the rice in 3 changes of cool water. Cover rice with 2 or 3 inches of cool water and soak at room temperature anywhere between 4-24 hours

- Fill the bottom of a steamer with a few inches of water and bring to a boil. Place rice onto a steamer tray in an even layer and steam for 15-20 minutes. Taste the rice to see if it is cooked and no longer hard and crunchy in the center. If it needs more time, continue steaming, checking every 5 minutes.
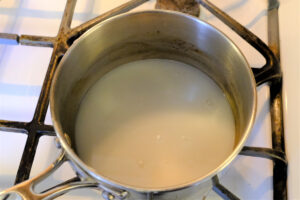
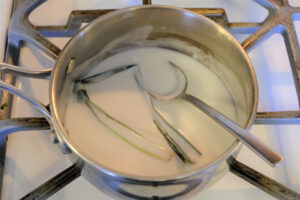
- While the rice is steaming, combine 1 cup coconut cream/milk with 3/4 cup sugar and 1 tsp kosher salt in a small pot.
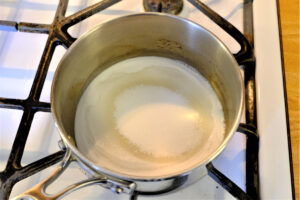
- Bring to a simmer over medium heat while stirring until sugar is dissolved. Turn off the heat and set aside until rice is ready. Warm it up back up slightly right before mixing it with the rice.
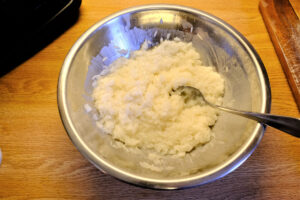
- When rice is finished cooking, immediately place it in a bowl while it is still hot. pour the prepared coconut mixture over the rice and stir to combine. The rice will appear very loose and soupy at this point. That is OK.
- Immediately cover bowl with foil and allow it to rest for 30 minutes.
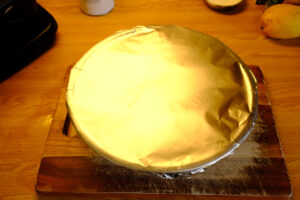
- Uncover the rice and give it a stir. Cover the bowl up again and let the rice rest another 10 minutes or until ready to serve. You can keep the rice at room temperature, covered, for up to 8 hours.
Coconut Sauce
- In a small pot, off the heat, mix 1 tsp rice flour and 1 Tbsp water until rice flour is completely incorporated. Add the 1/2 cup coconut cream/milk, 2 tsp sugar, 1/2 tsp kosher salt and the piece of knotted pandan leaf to the pot as well.
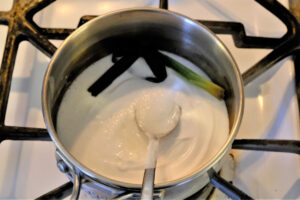
- Stir everything to combine and then heat the pot over medium heat while stirring until the mixture comes to a simmer. The sauce should start to thicken slightly when the mixture comes to a simmer. Simmer for 1 minute and then turn off the heat. The sauce should have a loose, saucy consistency. It will also thicken slightly as it cools. If the sauce is still very watery, feel free to add a little more rice flour by first dissolving it in a little water. Simmer it until it thickens up more. Do not at dry rice flour to the sauce as it will get clumpy. Let the sauce cool to room temperature.
To Serve
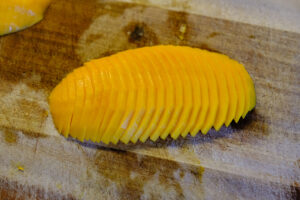
- Peel the mangoes and either slice, or dice the flesh.
- Place the sweetened sticky rice on 4-6 plates along with some fresh mango. Drizzle the plate with some of the sauce and sprinkle on some sesame seeds.

So so excited to try this recipe!!.. it’s been my all time favorite dessert in the WORLD for many years, and every birthday I treat myself to some!!…. every person’s I’ve introduced this to love it!! They’re is no cake, or dessert that even compares!!! I mean how can the lovely mixture of my two favorite fruits go wrong!! 👌🌟👍👌🌟👍🌟👌👍🌟👌🤗🌟👍❤️
Give it a shot!
Really detailed explanation of cooking this dish at home. I haven’t tried it yet but I will do and then update my review! Thank you.